...Photography, a way into unknowns
Hamidreza Behnamfar...Photography, a way into unknowns
Hamidreza BehnamfarAfternoon, Work-flow
In this post I want to explain work-flow of one of my works, "Afternoon" .
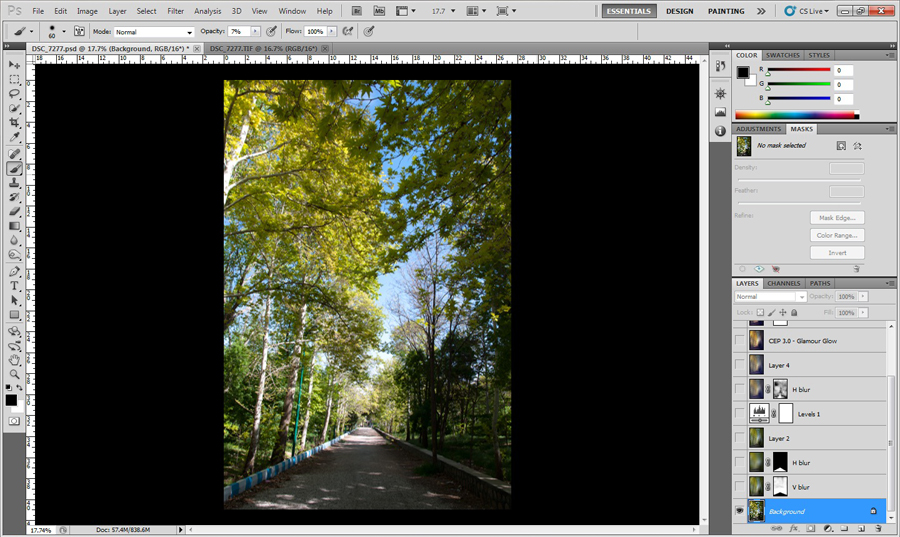
1. RAW file converted to TIF 16 bit in ACR & imported to CS5.
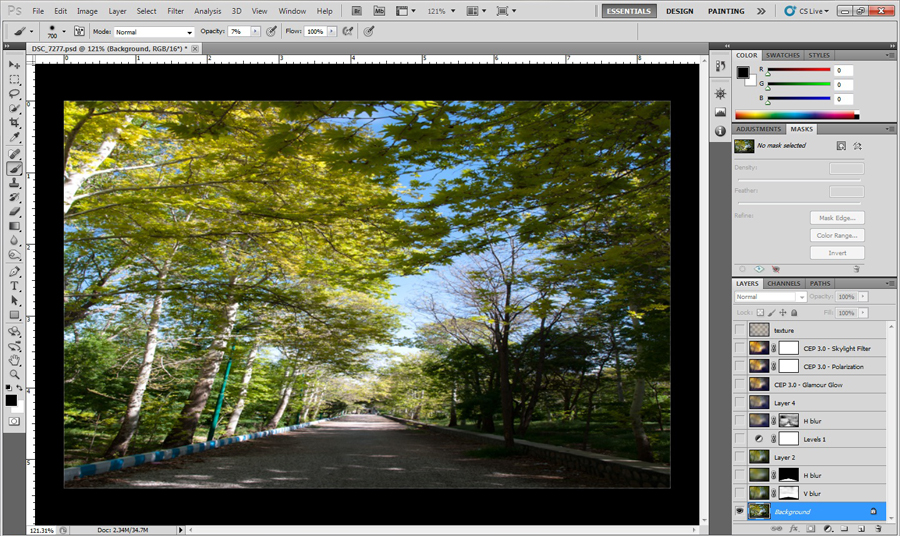
2. Non linear resizing as many of my works for exaggeration in dimensions into an abstraction look; output size is 4700 pixel in width and 3000 pixel in height.
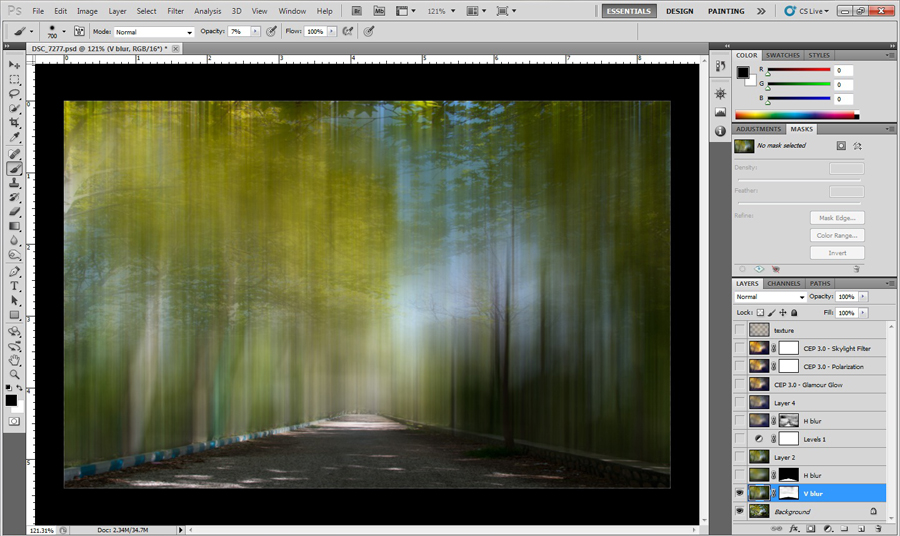
3. Applying vertical Motion Blur effect that removed on the path area by using a layer mask and brushing with a soft low opacity brush (foreground color set as black).

4. applying horizontal Motion Blur effect on the path and using a layer mask again.
(As a tip for applying an effect with brush stroke by stroke, apply the effect, then add layer mask, press Ctrl+click on layer mask to select it, press Shift+f5 and fill it with black in normal mode & 100% opacity, layer mask will be black completely, set foreground color as white, start with a soft & low to mid opacity brush for applying effect!!)
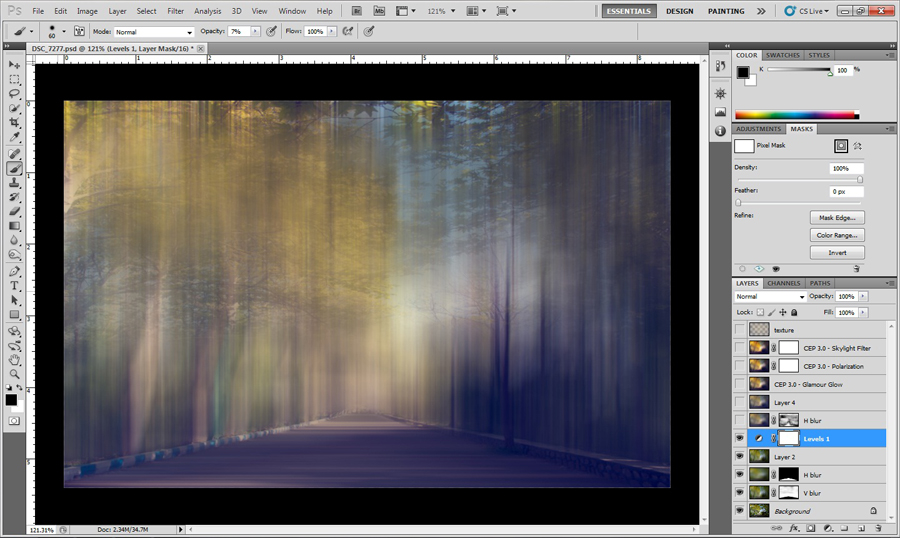
5. Adding Levels adjustment layer.
I usually do some changes in this adjustment layer for approaching surreal colors. in this work:
In RGB channel, blacks & whites clipped for best contrast;
In Red channel, mid tones set in 1.1;
In Green channel, output levels clipped between 11-237;
In Blue channel, output levels clipped between 63-195 (Blue channel is very important & effective.)
These values vary depend on colors of photo but as a whole order, for Red channel mid tones in 1.1, for Green channel, output levels between 30-230 and for Blue channel, between 60-190 would be great.
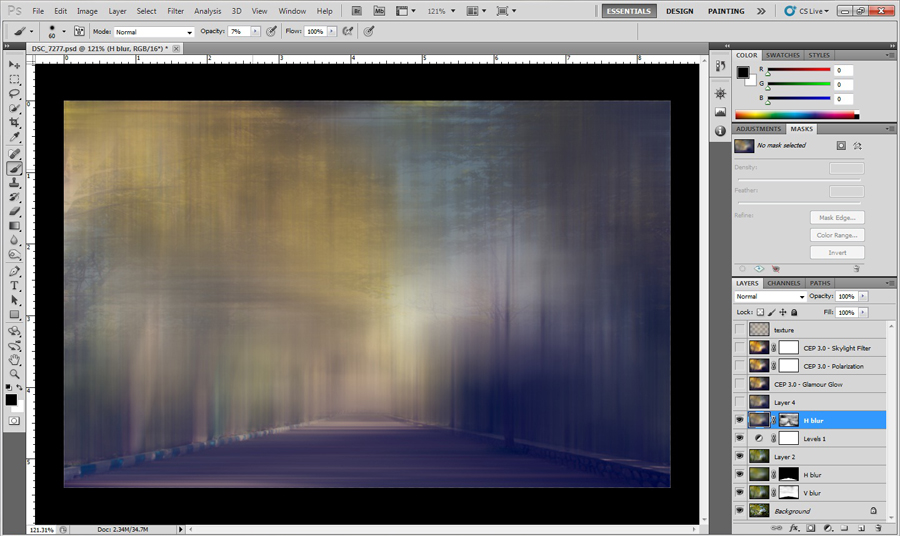
6. Applying horizontal Motion Blur effect in some areas as you see in layer mask.
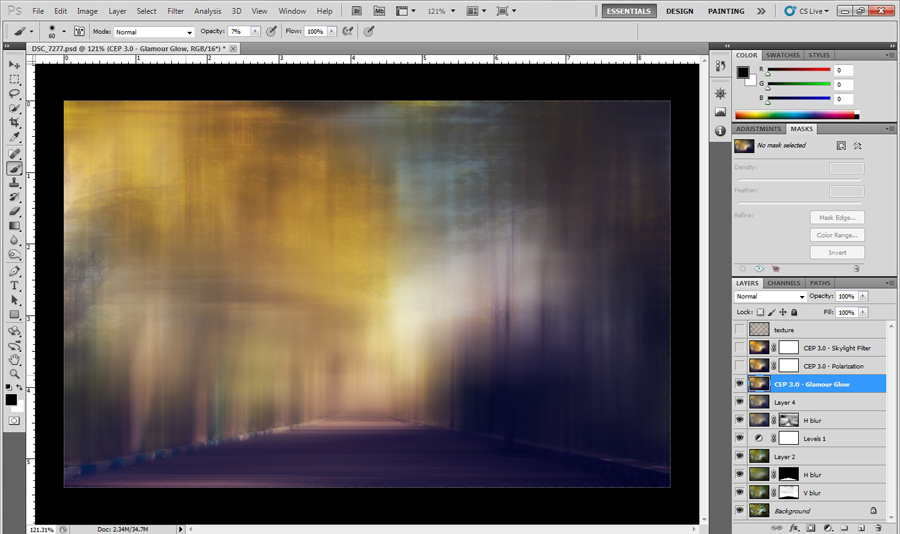
7. Applying Glamour Glow effect with Nik Software Color Efex 3 plug in for increasing saturation & brightness in colors.
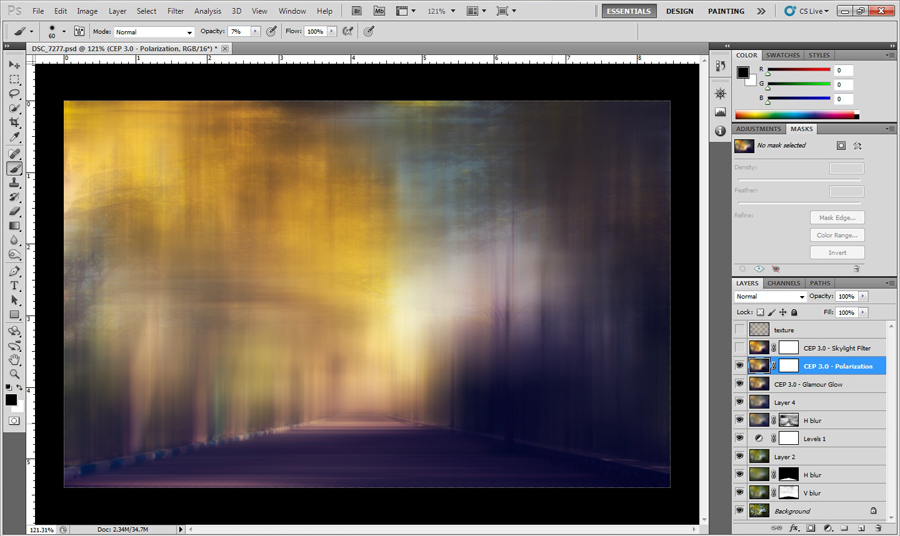
8. Applying Polarization effect with Nik Software Color Efex 3 plug in for more exaggeration in saturation & brightness of colors.
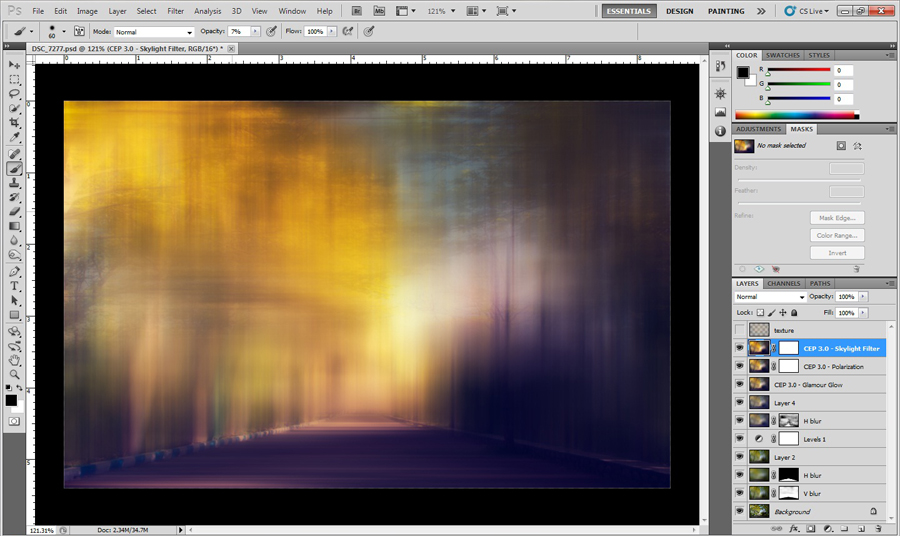
9. Applying Skylight Filter effect with Nik Software Color Efex 3 plug in for more & more exaggeration in saturation & brightness of colors.
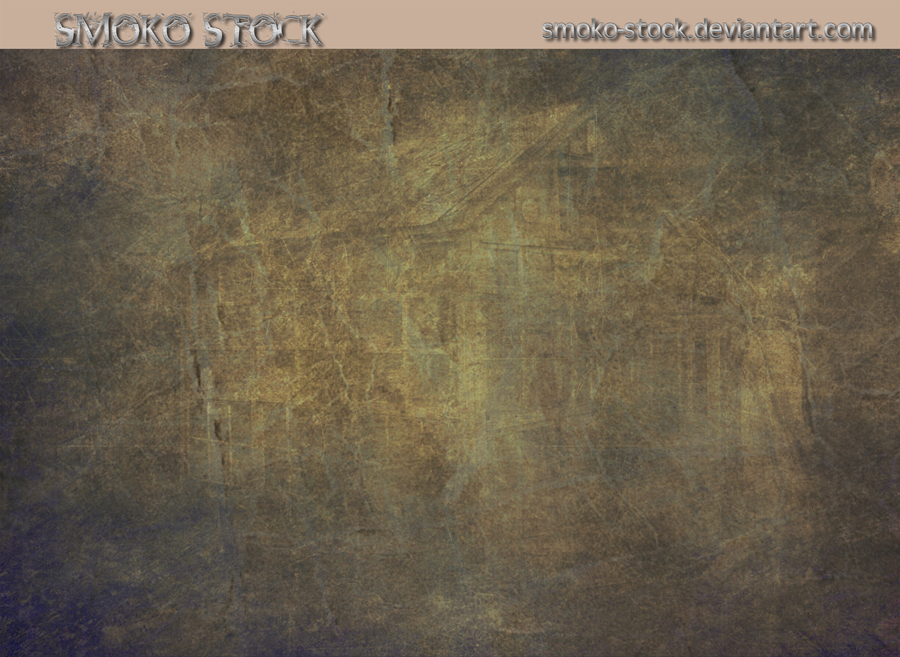
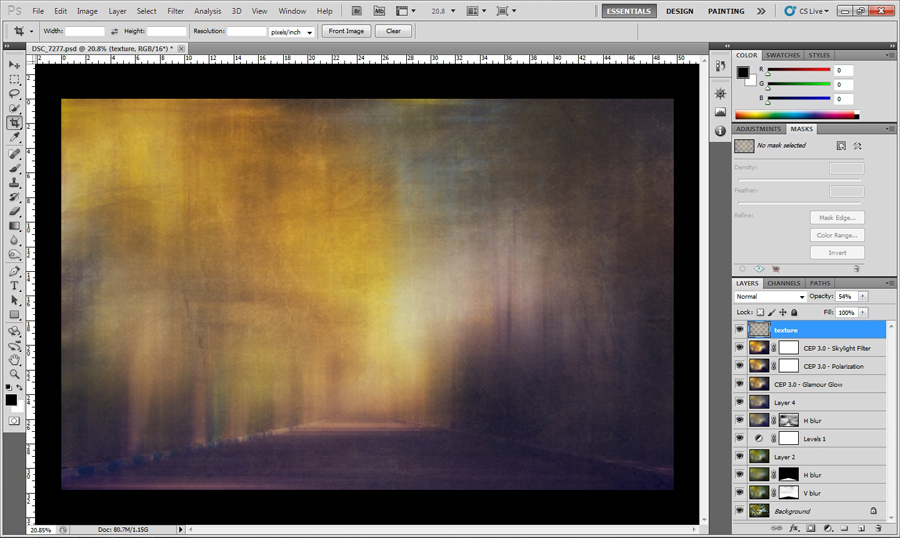
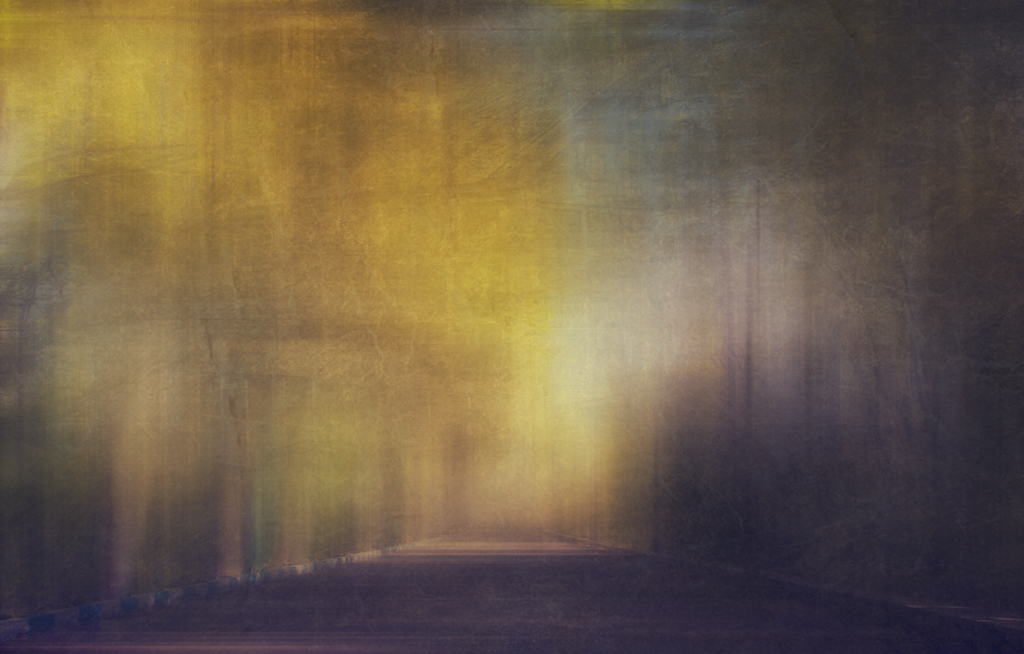
10. Adding a low opacity texture with using above picture for more abstraction in details.
(As a tip for better performance of texture layer, duplicate low opacity layer using Ctrl+J, merge layers, set opacity to best performance & use details as well!!)
And final image.
همه چیز مثل یه رویا میمونه...
قشنگن ...