...Photography, a way into unknowns
Hamidreza Behnamfar...Photography, a way into unknowns
Hamidreza BehnamfarNo trees No poem, Work-flow
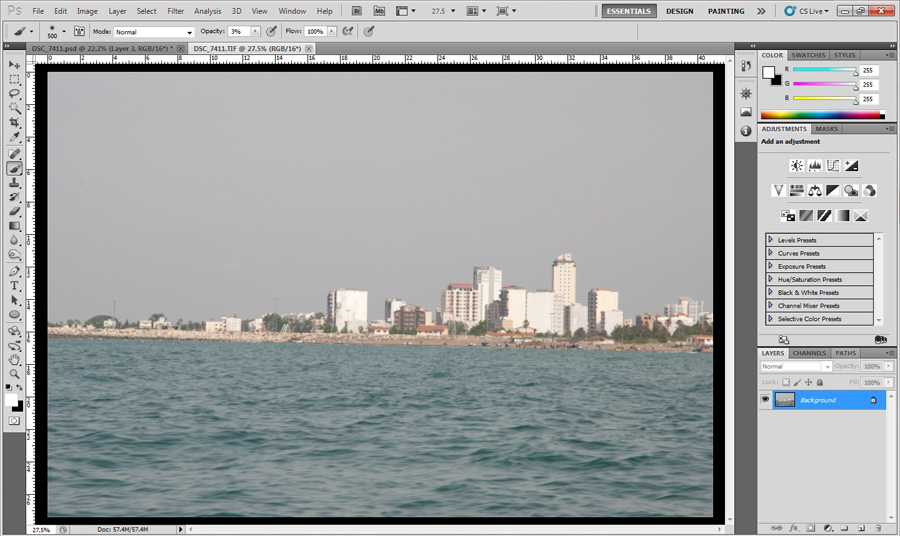
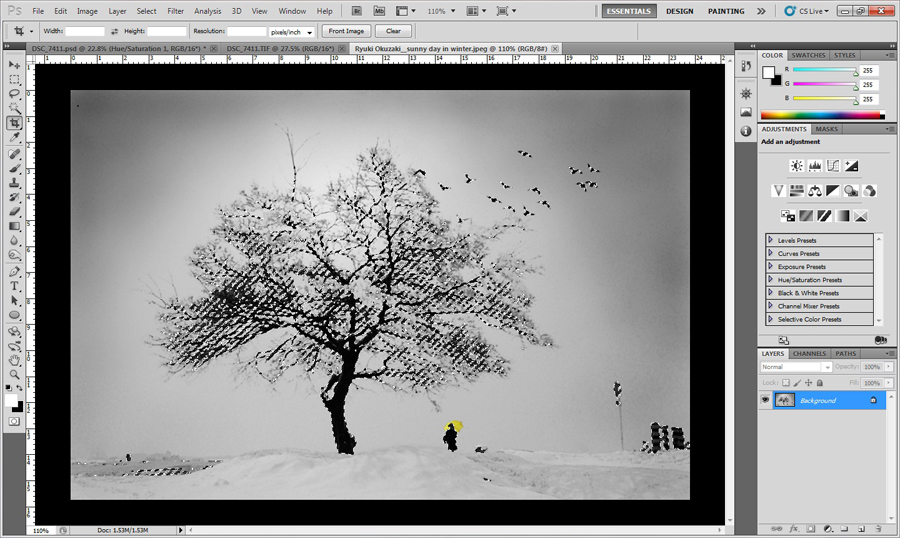
When I took this shot from a boat at Babolsar beach, I didn't have any idea about this boring picture, but... here is work-flow of my idea four weeks later:
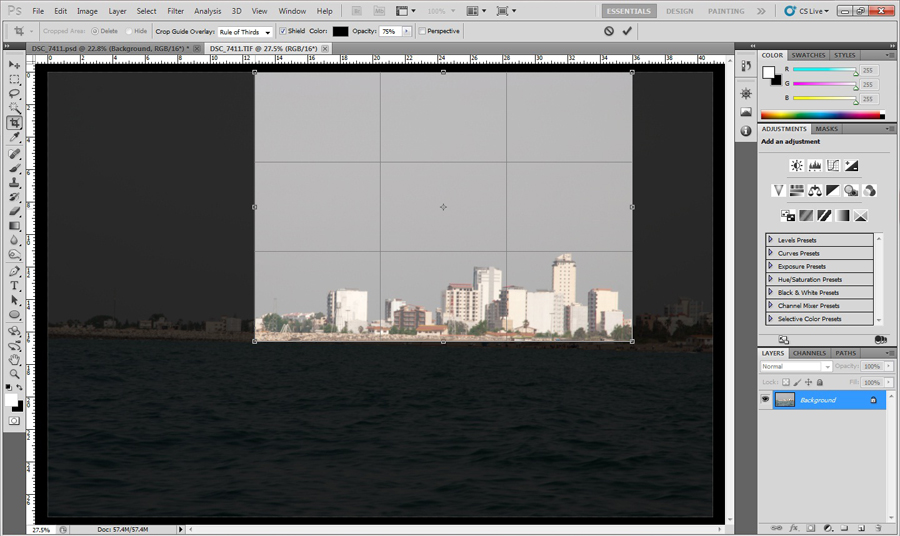
1. Importing RAW file into ACR & make a TIF 16 bit output file for working in CS5, this crop you see, done some steps later but I have to bring it in first step due to lack of uncropped layers after work. after crop I often set image size as 4700 pixels in width and 3000 pixels in height.
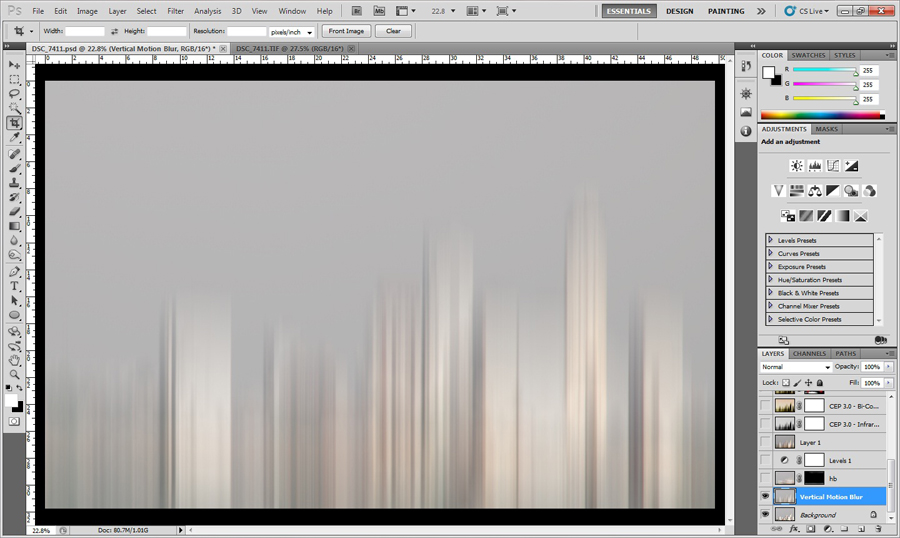
2. Applying vertical Motion Blur effect for abstraction in forms and atmosphere.
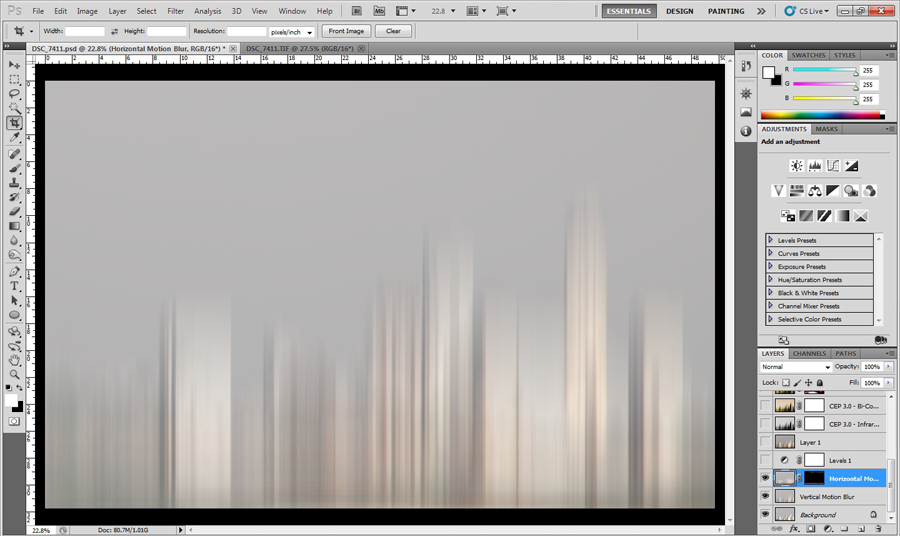
3. Applying horizontal Motion Blur effect on bottom using a layer mask & brushing with low opacity soft brush.
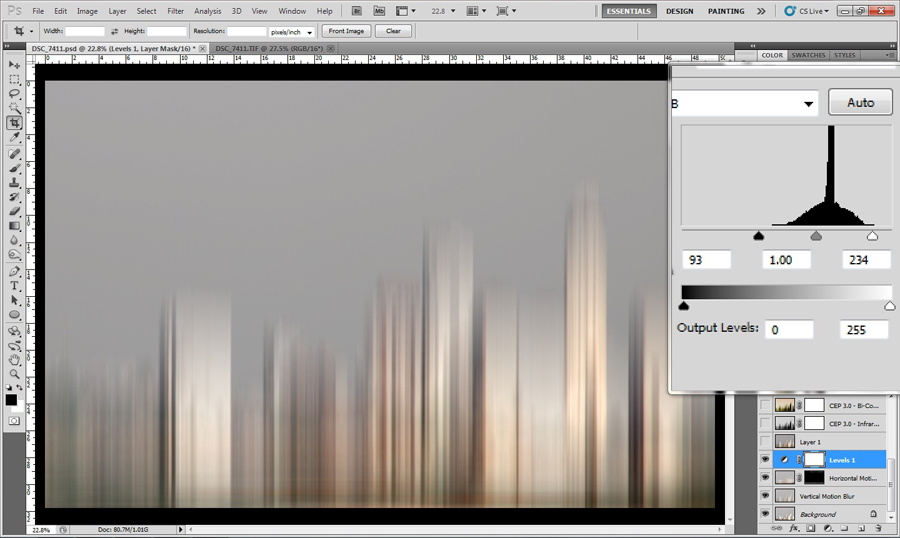
4. Levels adjustment layer with some changes in RGB channel to increase contrast of lines.
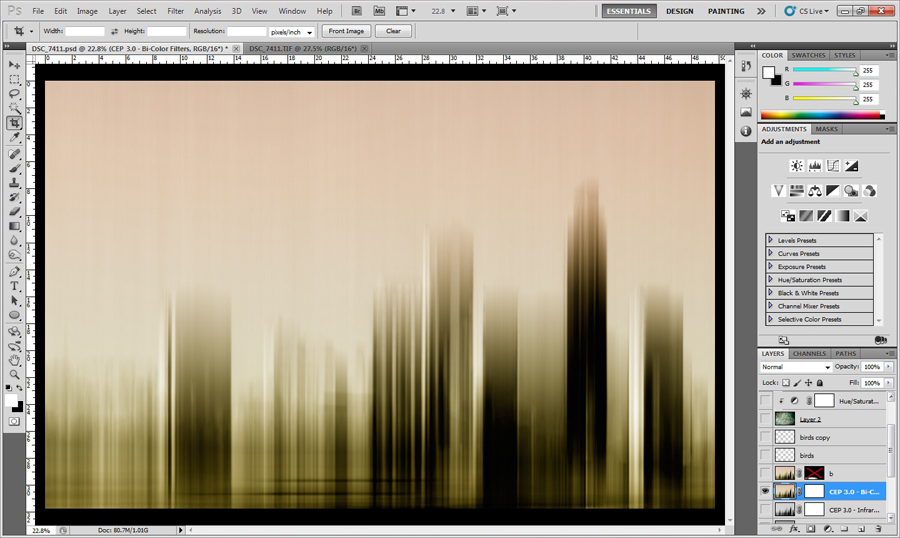
5. In the most important step, after checking some various effects, I choose this Bi-color effect obtained by Nik Software Color Efex plugin.
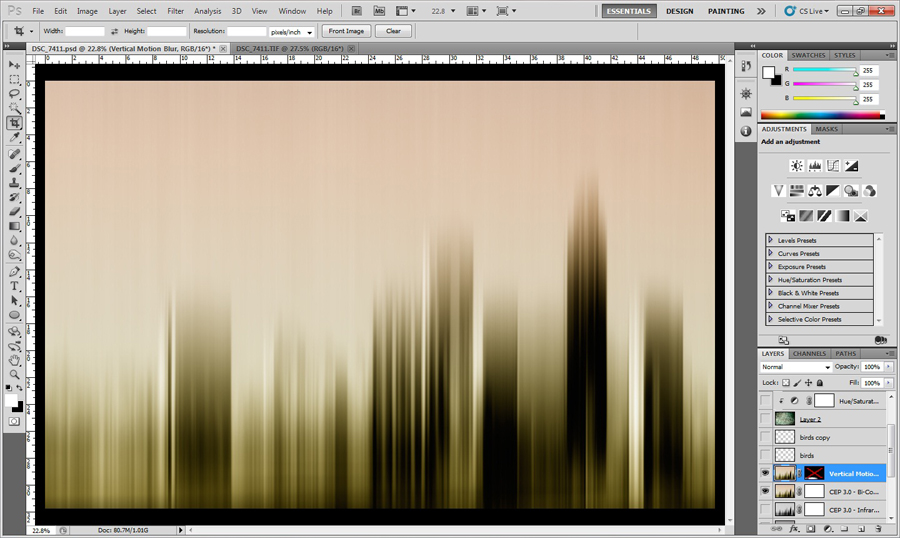
6. Second vertical Motion Blur effect to improve forms performance.
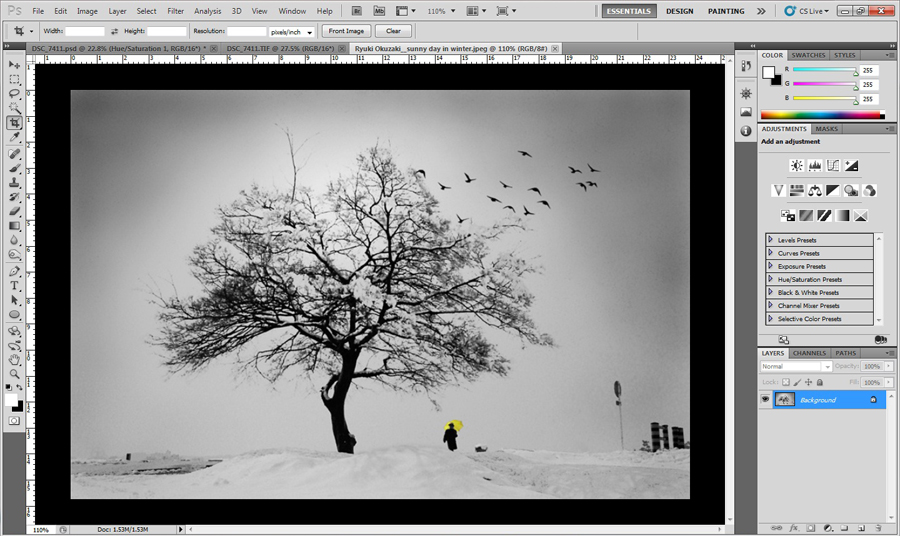
7. For creating a conversation, a dialogue or a relationship between elements in conceptual layer of work I usually help from free flying birds. in this work I invited these birds from a photo from my friend Ryuki okuzaki.
Link of this photo in Fotoblur: (Click here).
8. For selecting birds, from Select menu click Color Range... and in opened window on Select pull-down box click Shadows and then OK, copy & paste them in a new layer.
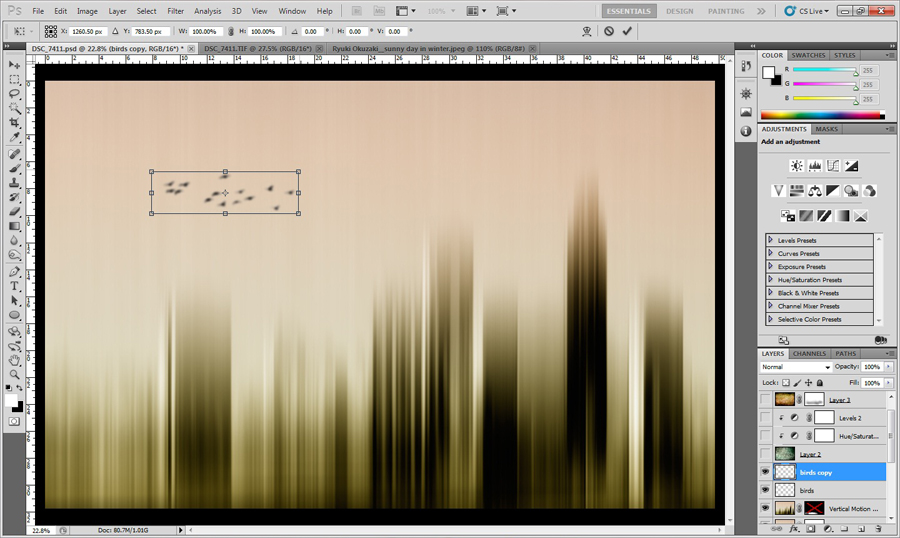
9. In this step I removed unnecessary areas in birds layer by eraser tool and applied Flip Horizontal from Edit menu, Transform sub menu and moved them to their position.
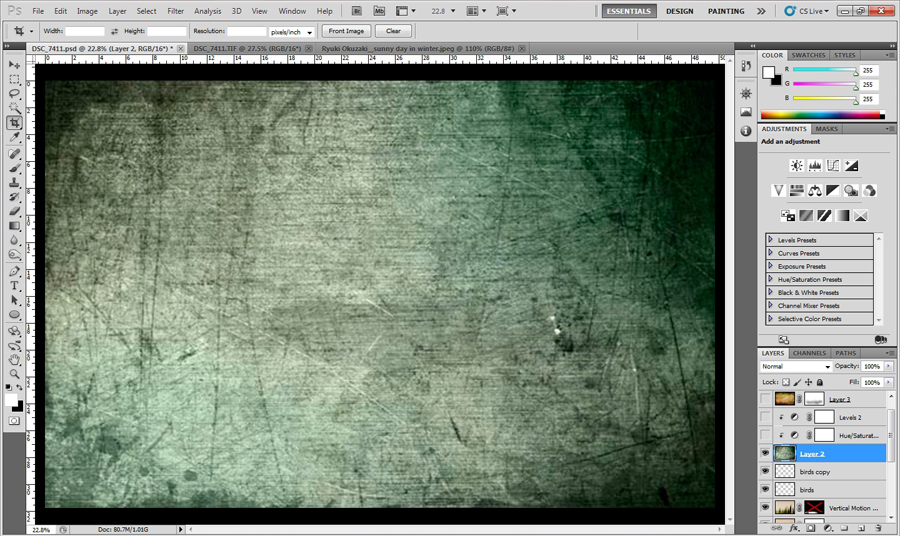
10. As usual in my recent works, using a texture for abstraction in details & atmosphere.
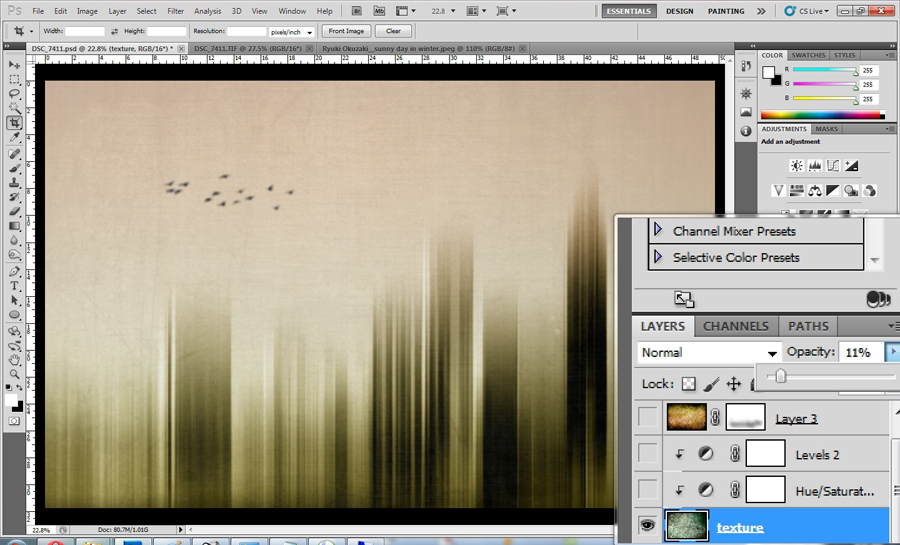
11. Setting opacity of layer on 11%.

12. Adding Hue/Saturation adjustment layer on texture layer. (Press & hold Alt key & click on border between adjustment layer & target layer for applying adjustment on target layer not all below layers.)
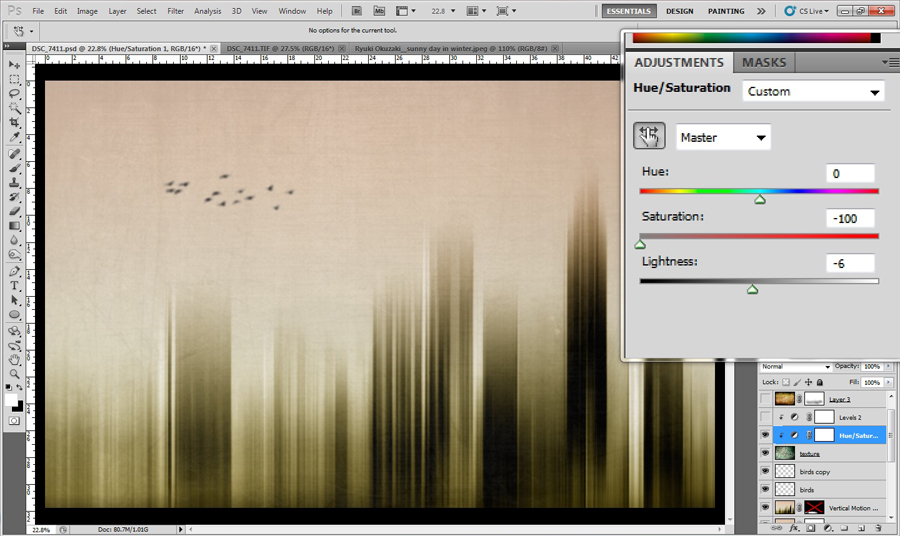
13. Decreasing Saturation of texture layer keeps toning obtained by Bi-color effect in step 5.
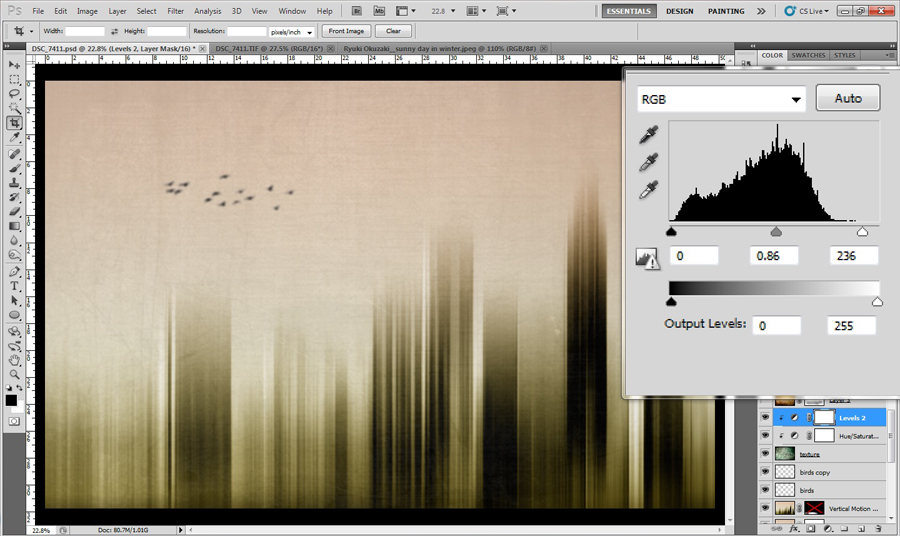
14. For increasing contrast of lines in texture layer another adjustment layer, this time Levels, added on texture layer with some changes in RGB channel.
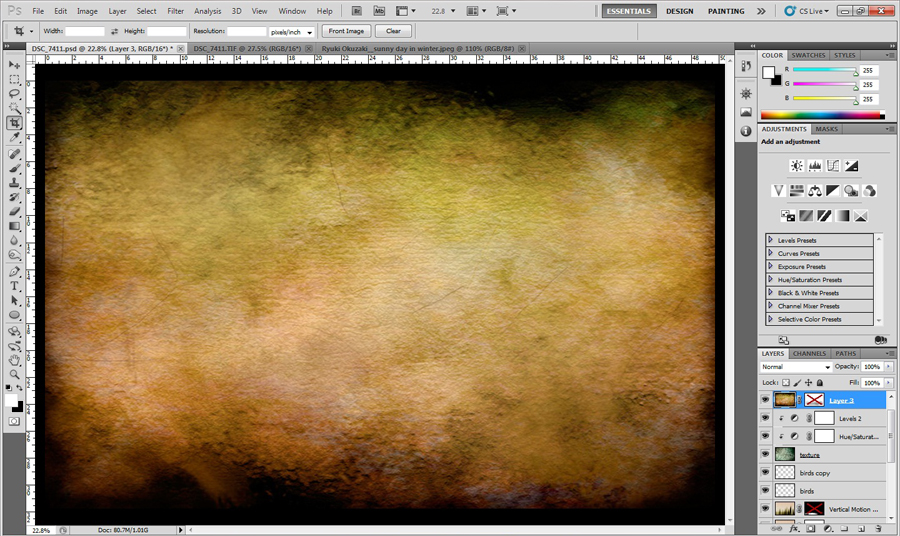
15. Second texture layer to reach a moody smoky sky.
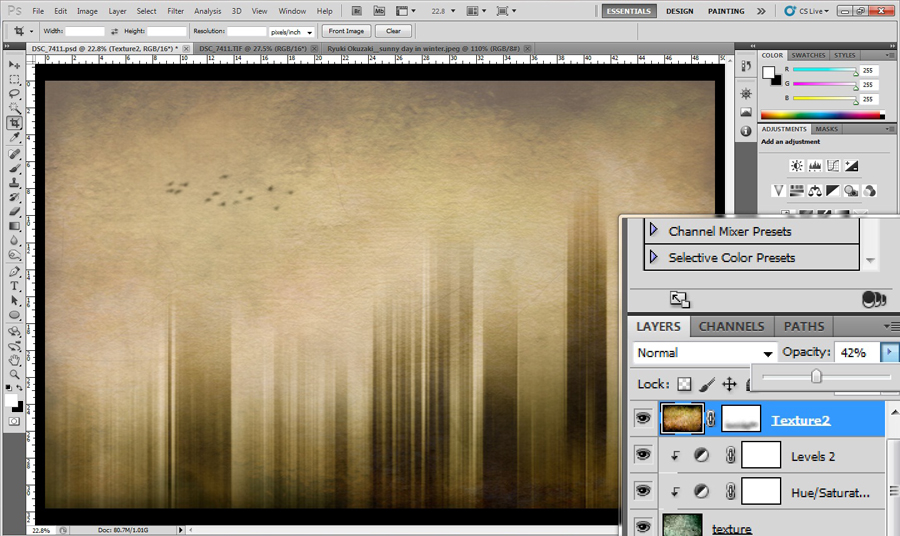
16. Setting opacity of texture layer on an optimum value, for this one 42%. I removed unnecessary areas using a layer mask and brushing.
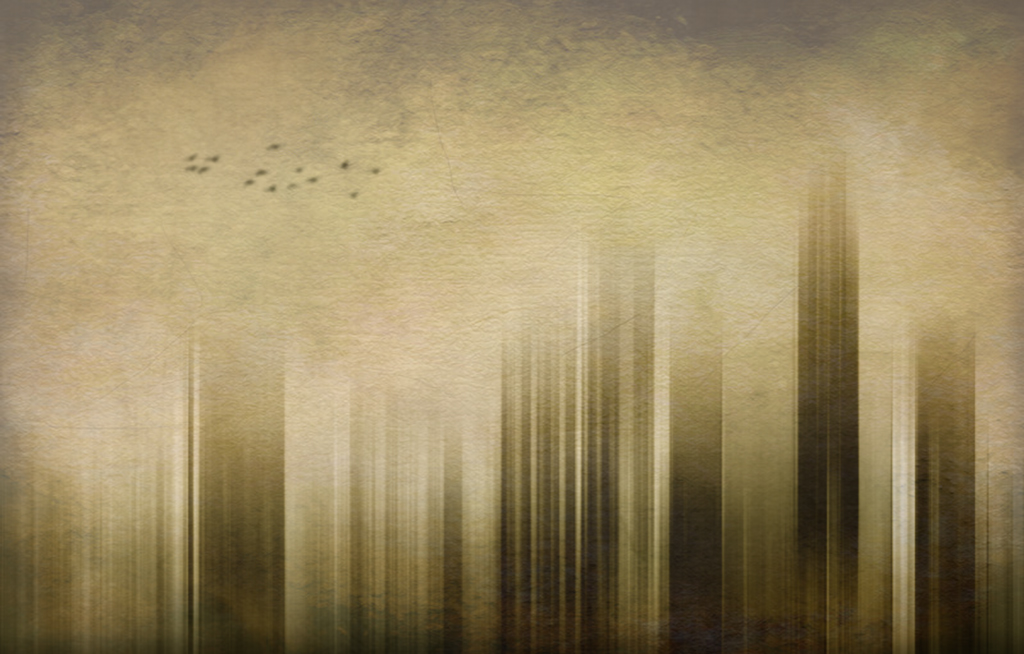
And the final image.