...Photography, a way into unknowns
Hamidreza Behnamfar...Photography, a way into unknowns
Hamidreza BehnamfarWatching the horizon, Work-flow
In this work I show you the magic effect of tonality and its function to approach a desired atmosphere in photos. so like my another works I will use my favorite plugin, Nik Software Color Efex Pro 3.0 Complete in CS5 during the process.
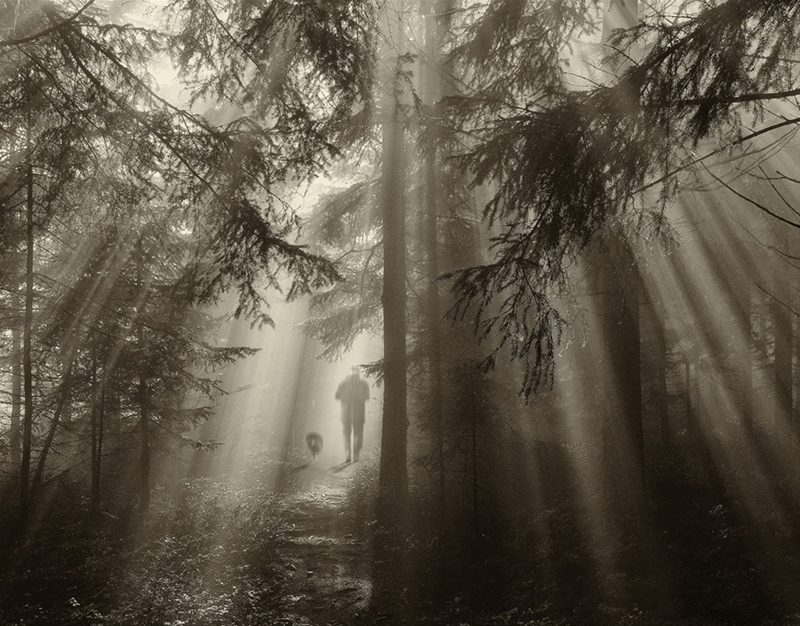
1. My stuff for this work was a zoom-back shot from this great photo from my dear friend, Kuki Walsch. you can see this work in Fotoblur: (Click here).
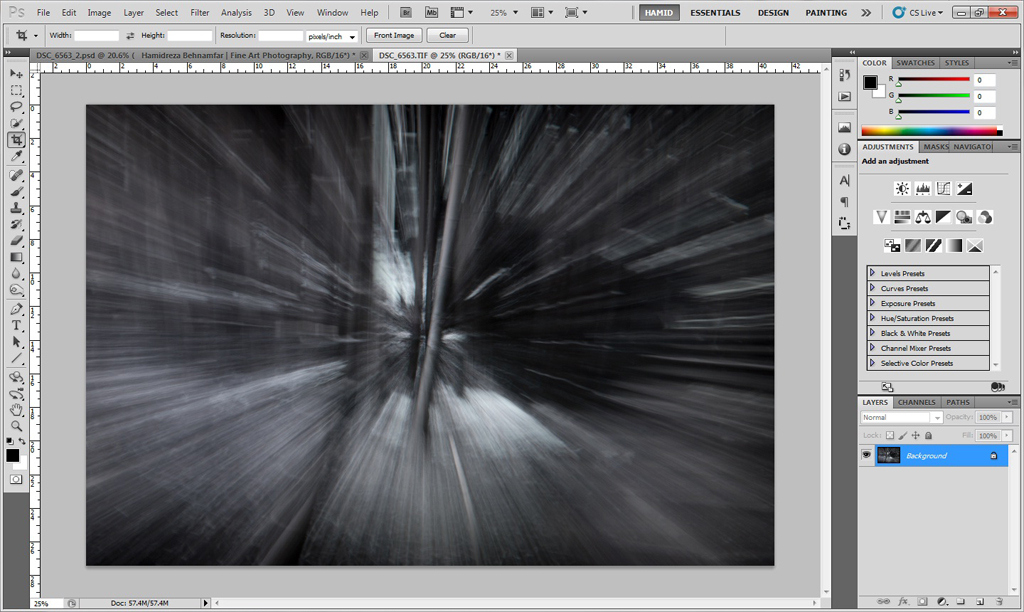
2. Result of zoom-back shot.
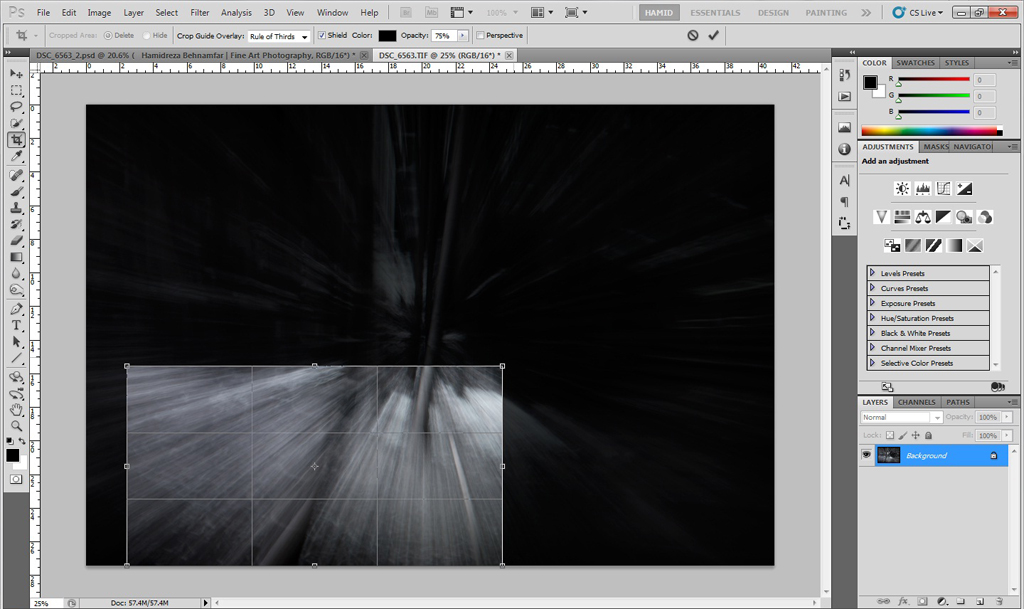
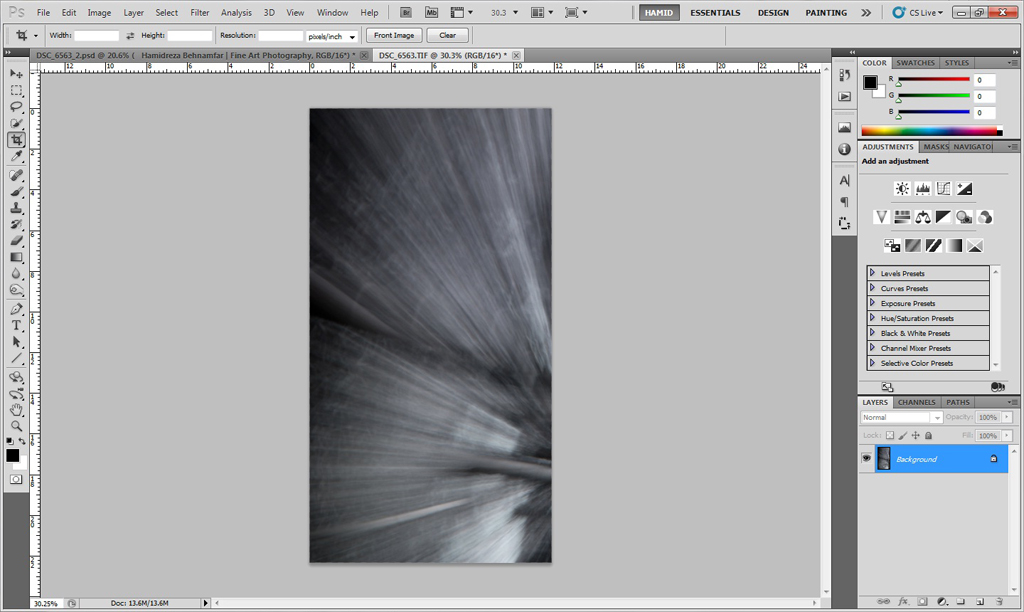
3. Actually these crop and rotation were done in later steps but for better description I have to bring it here in this step!

4. And as usual in most of my works a non linear resizing to 4700 X 3000 pixels.
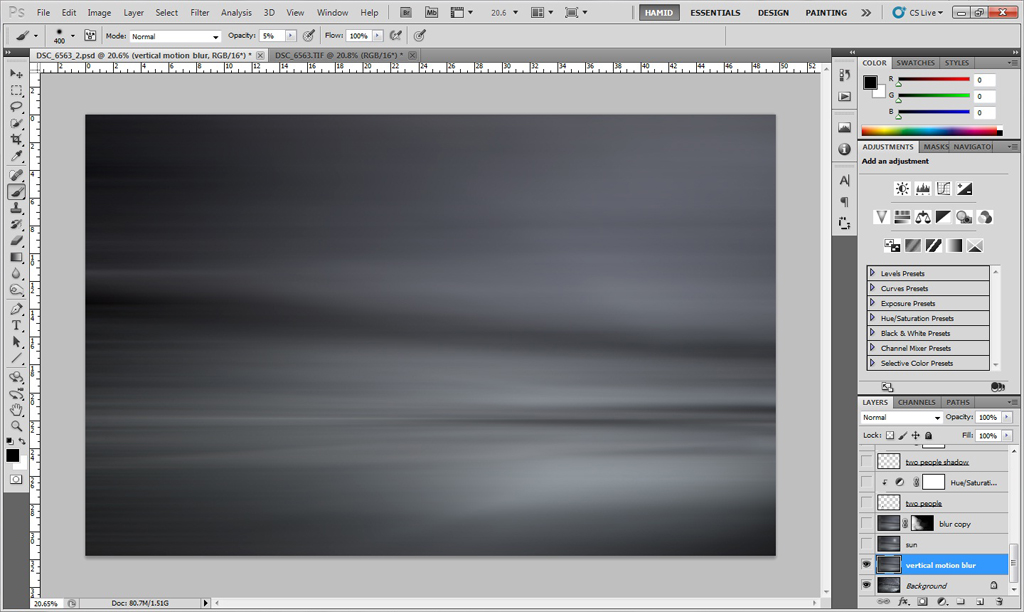
5. in this step I applied horizontal motion blur effect and harsh texture got a soft look.
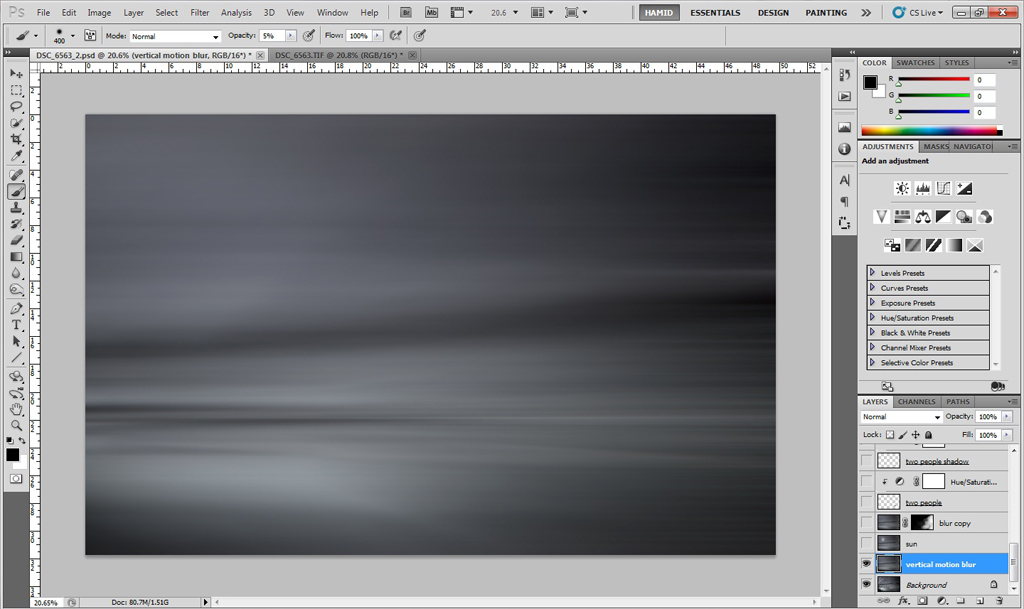
6. For using the highest energy key point of frame, top-left, resized work horizontally flipped.
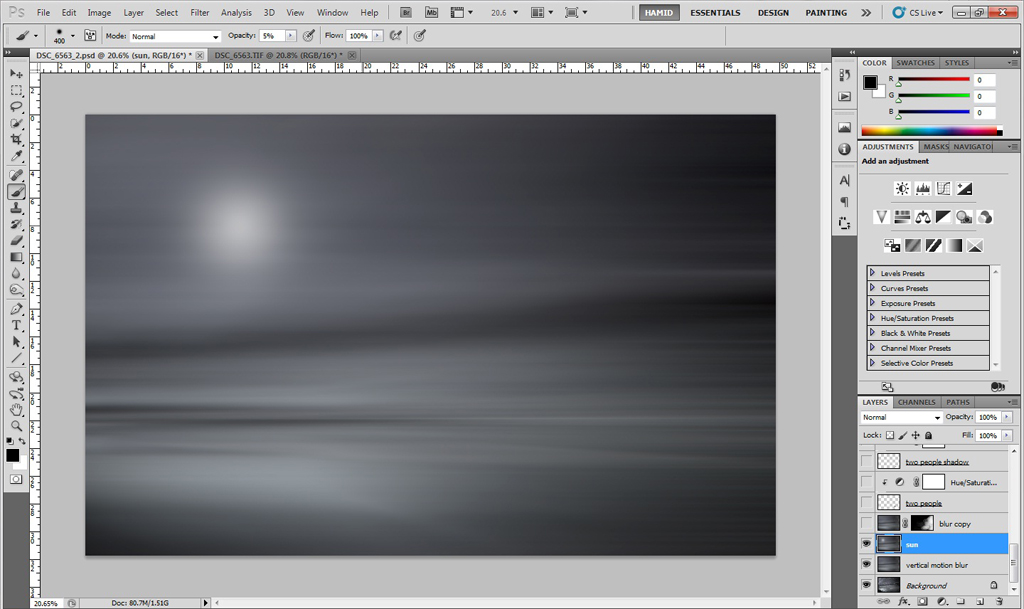
7. Creating a lovely sun with low opacity soft brushing.
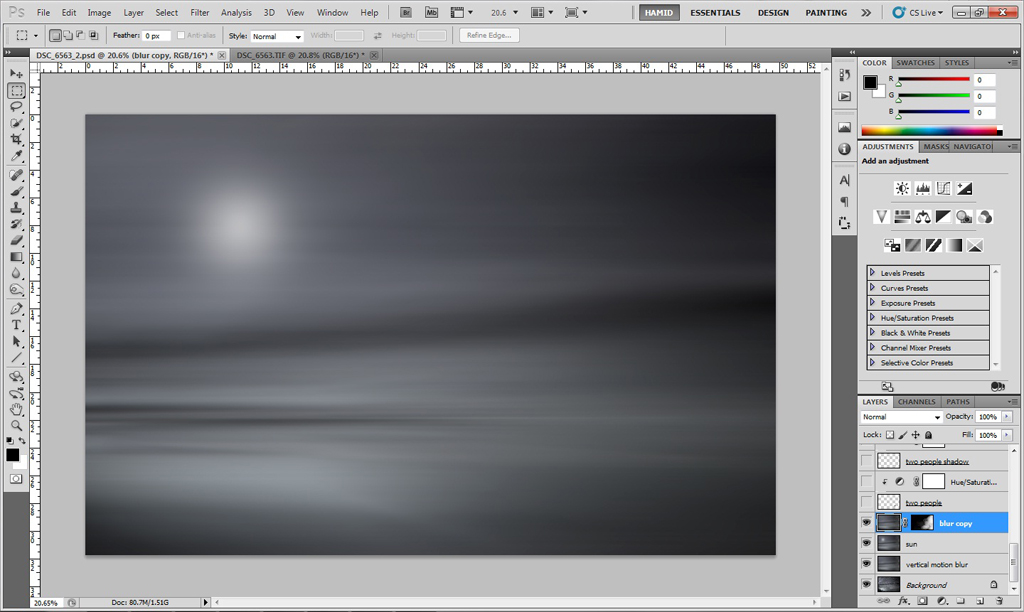
8. For removing vivid horizontal lineations at the right margin, applied vertical motion blur effect in this area using a layer mask.
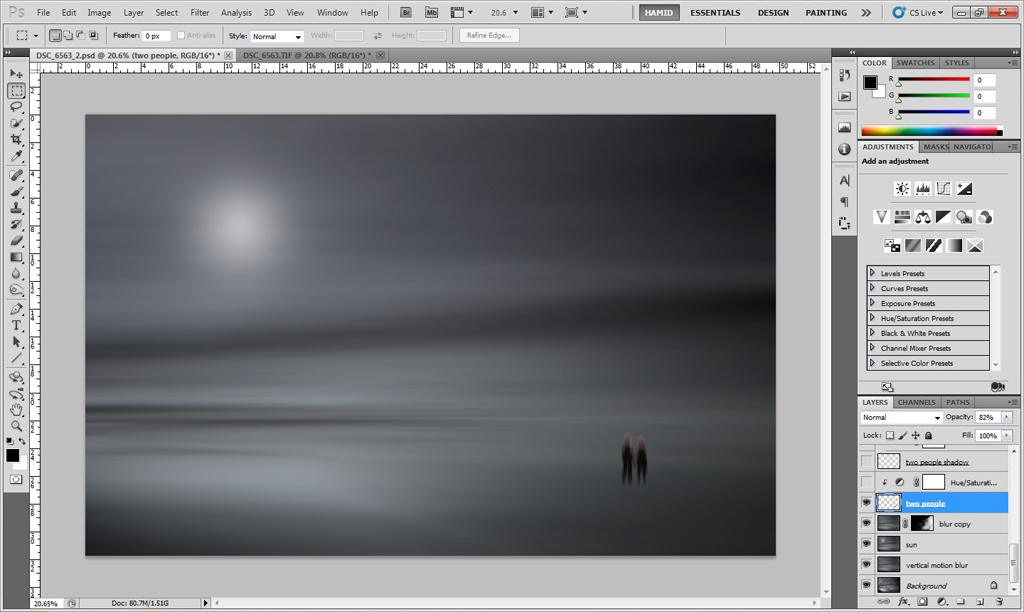
9. Adding these two lovers in the lowest energy key point of frame, bottom-right.

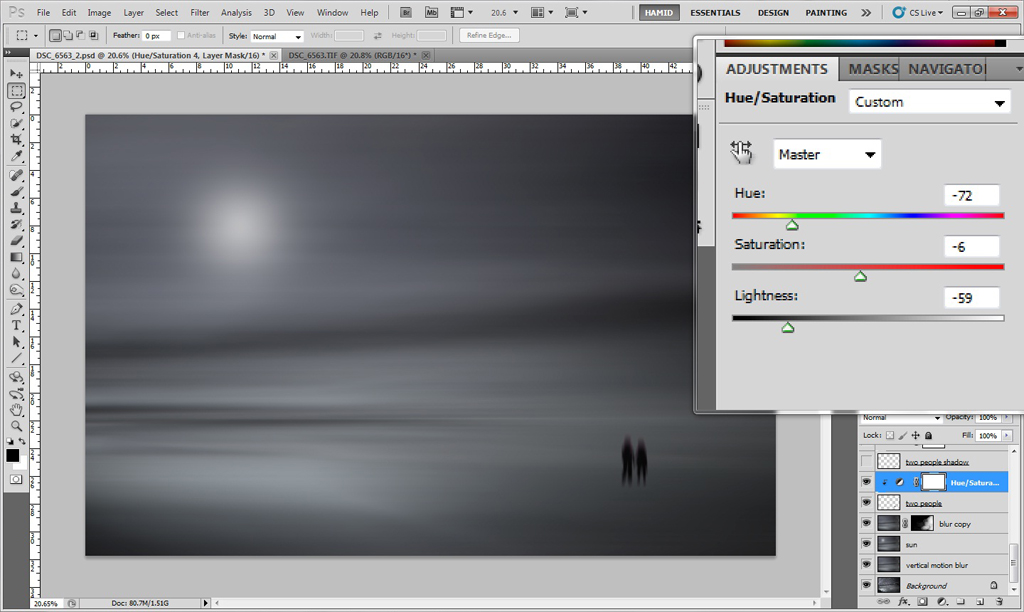
10. Some Hue/saturation adjustments applied to this layer (press & hold alt key for win and click on the border of target layer and adjustment layer).
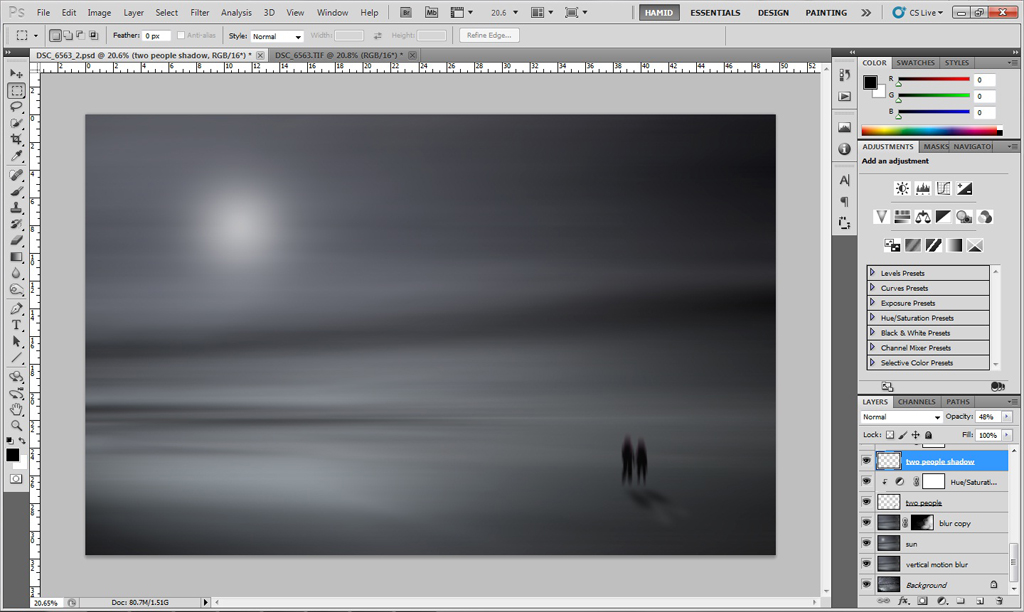
11. Making shadow by duplicating two people layer and rotating then warp transforming it.
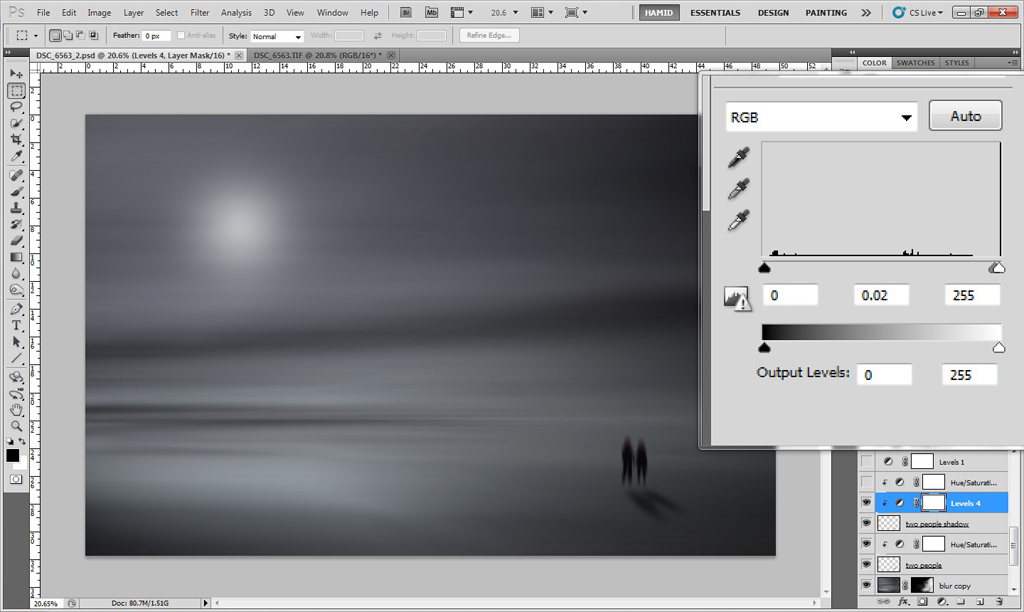
12. For treating head shadows and making a uniform toning overall the shadow, in Levels adjustment layer, playing with mid-tones slider did work very well.
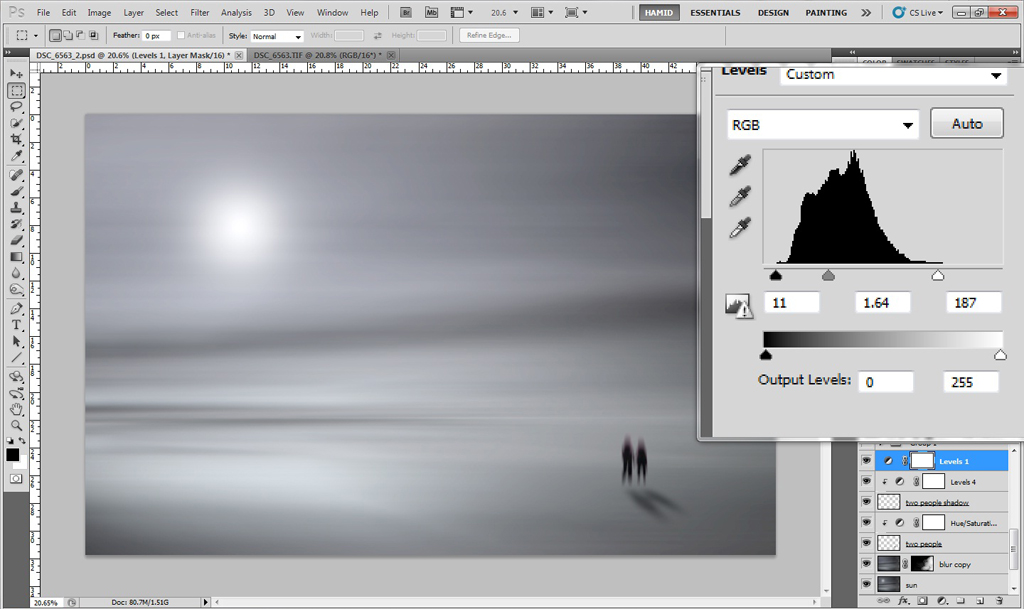
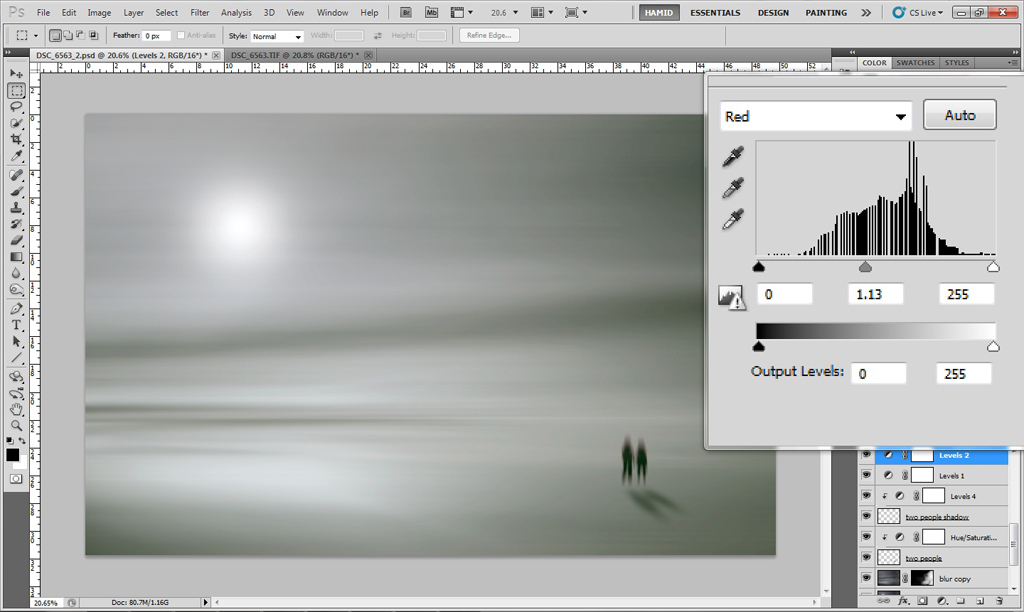
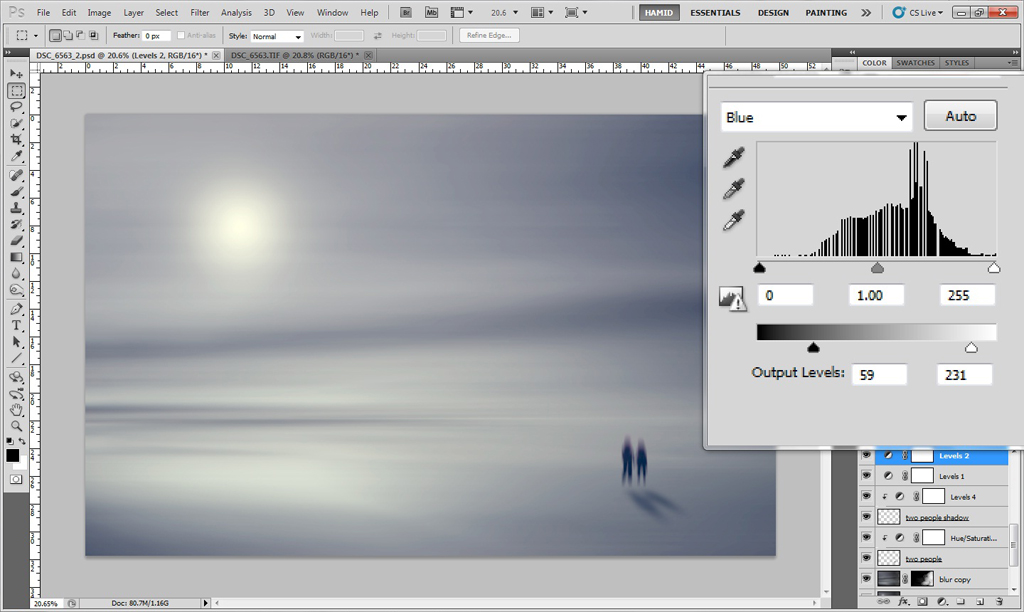
13. Until this step, principal elements have composed and from now my target is work on tonality and light and approaching the final atmosphere. at first some changes applied in Levels adjustment layers in RGB, Red and Blue channels.
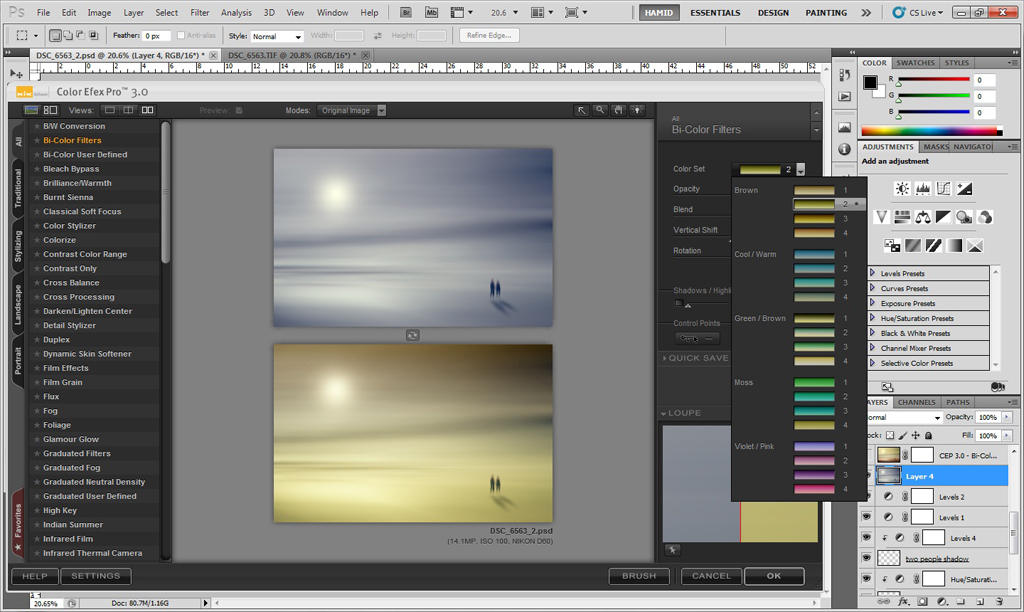

14. I usually use Bi-Color effect from Nik Software Color Efex plugin and result is always awesome!
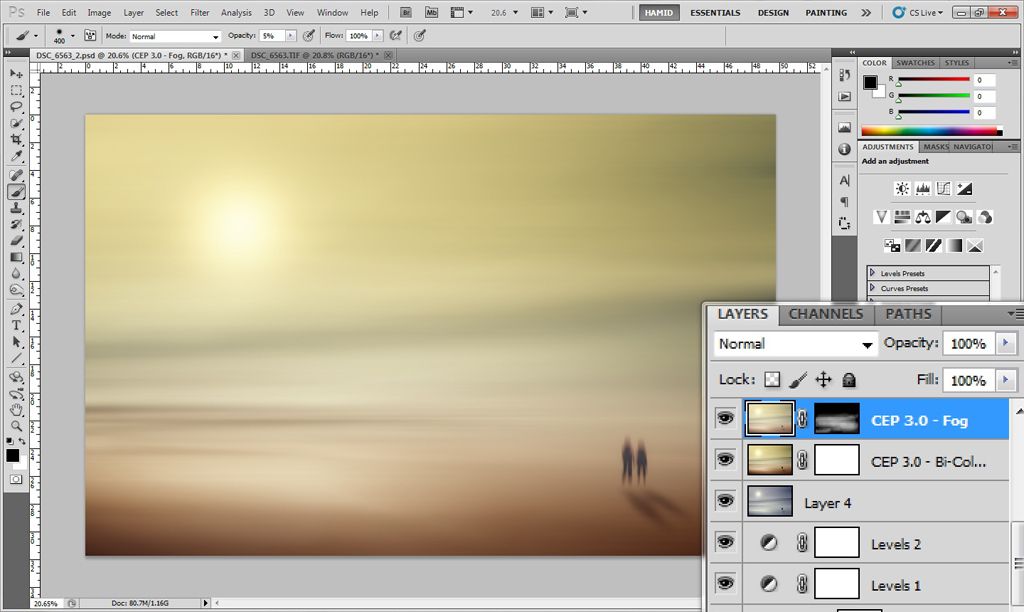
15. Applying Fog effect from Nik Software Color Efex plugin in some areas in ground.
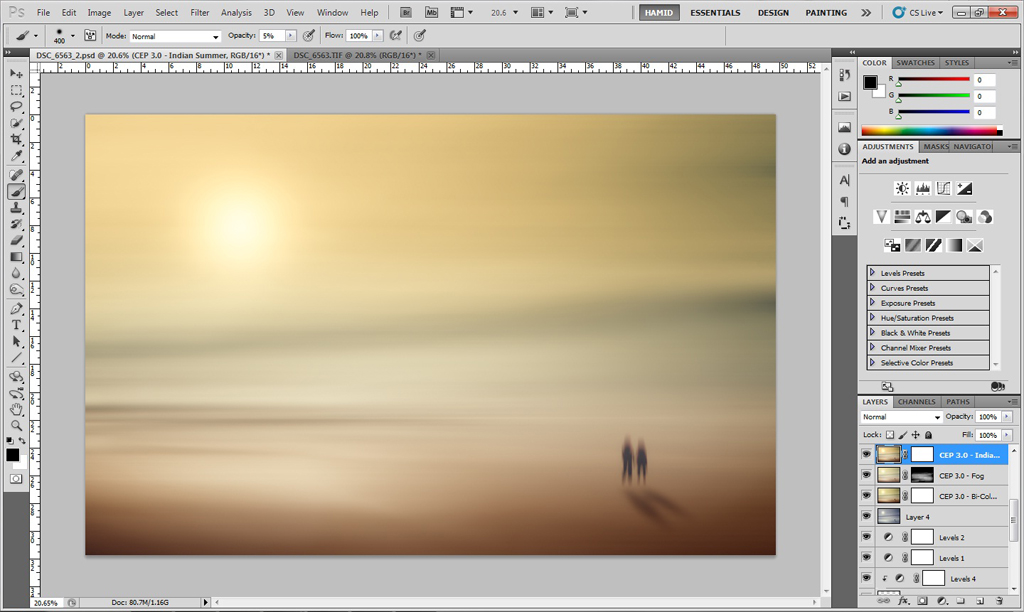
16. Applying Indian Summer effect from Nik Software Color Efex plugin .
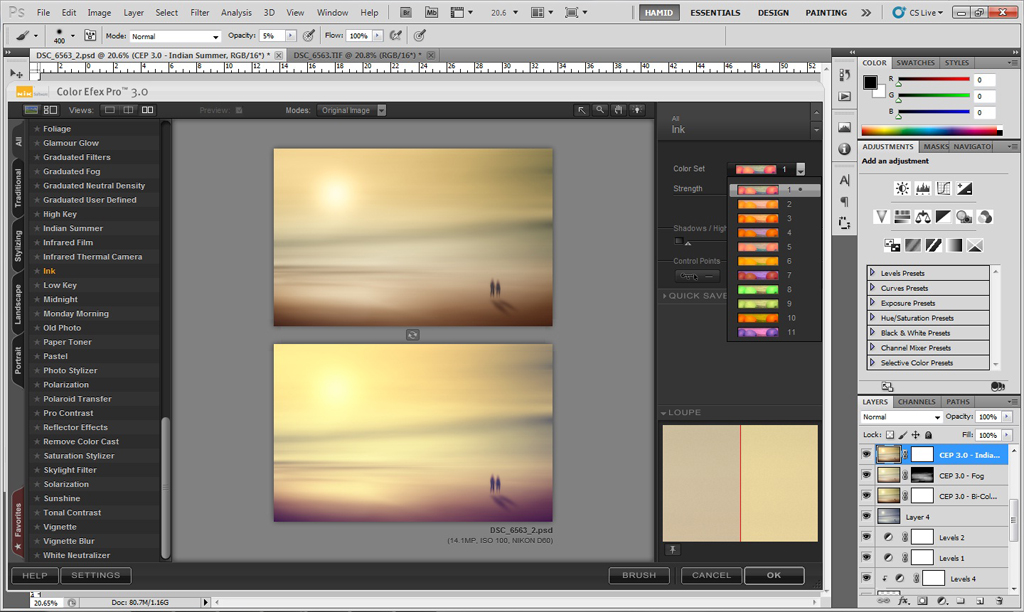
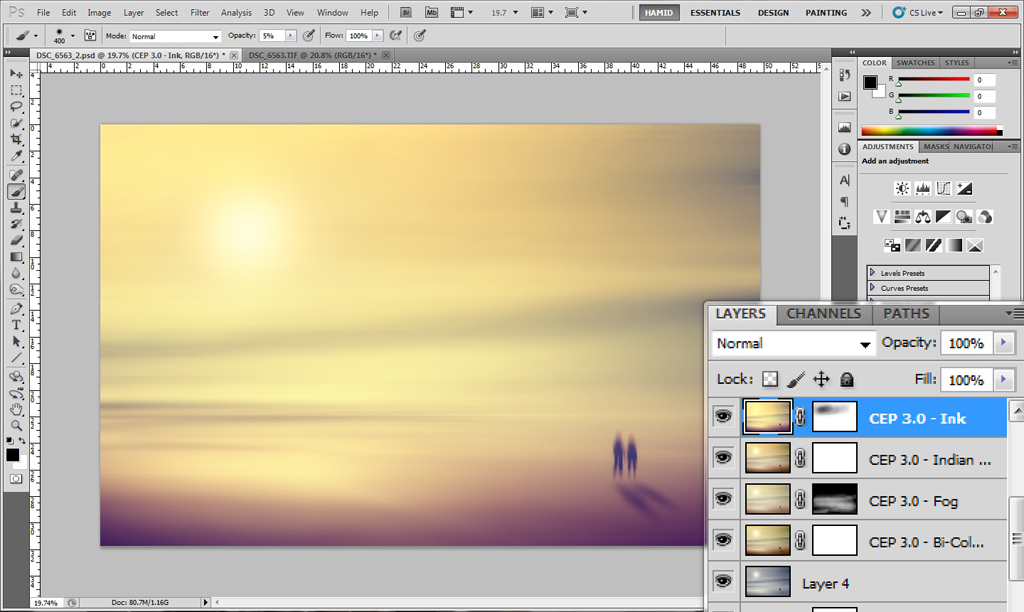
17. Applying Ink effect from Nik Software Color Efex plugin.
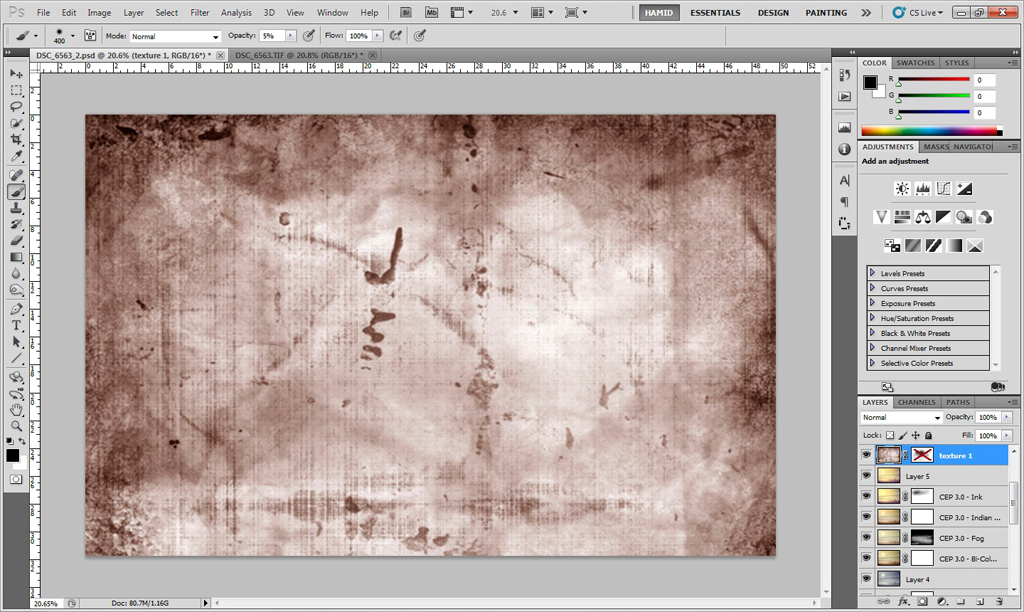
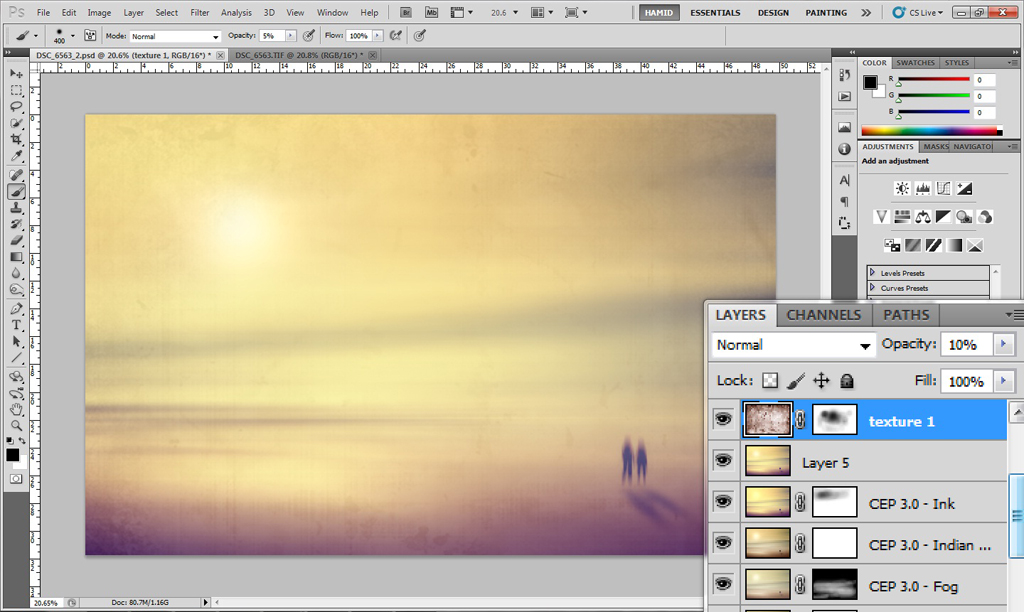
18. First texture layer with 10% opacity that removed in some areas by using a layer mask.
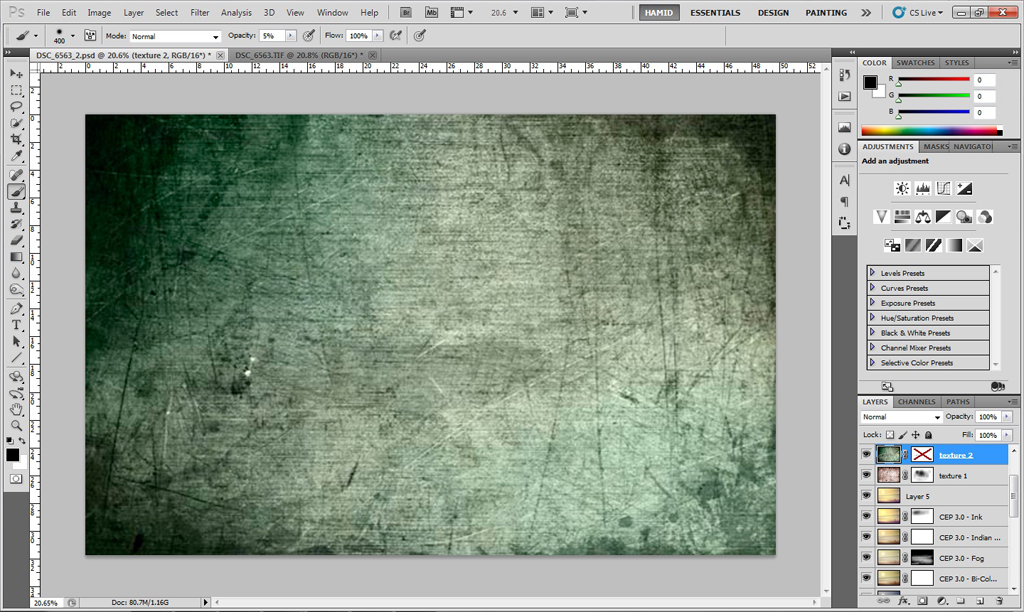
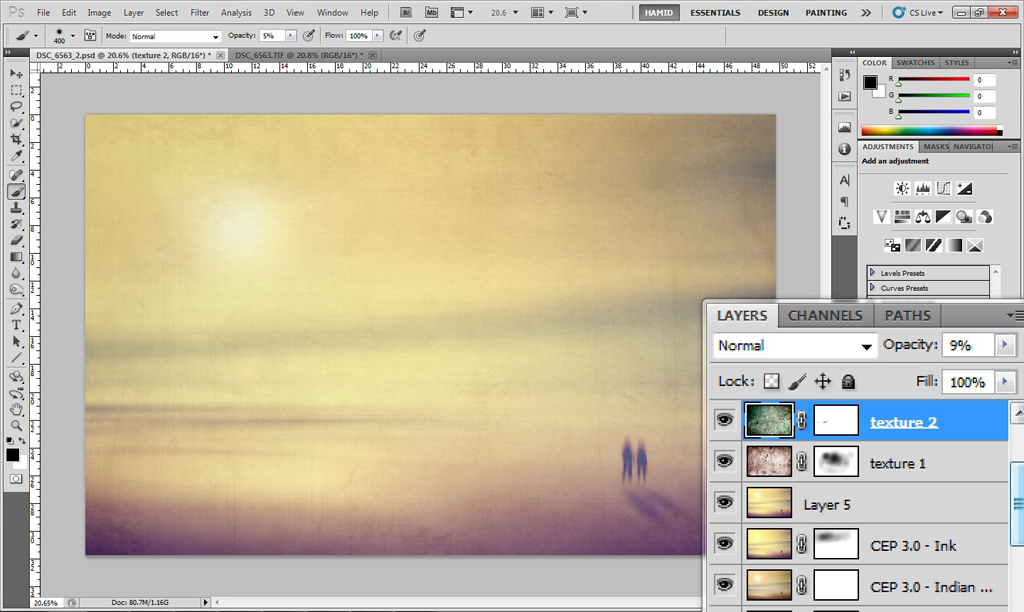

19. Second texture layer actually is my favorite and this time with 9% opacity and of course in desaturated mode.
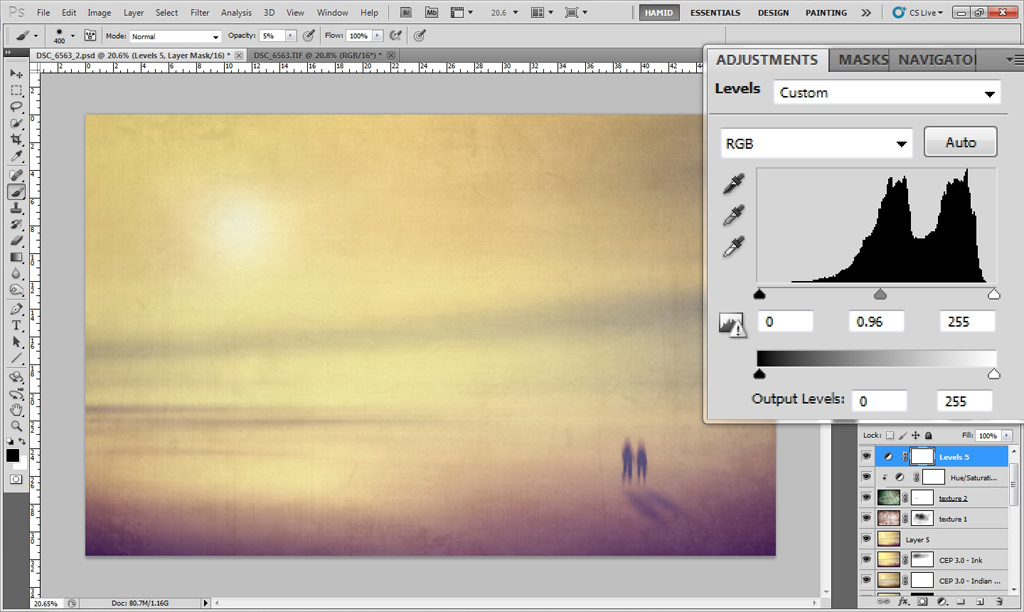
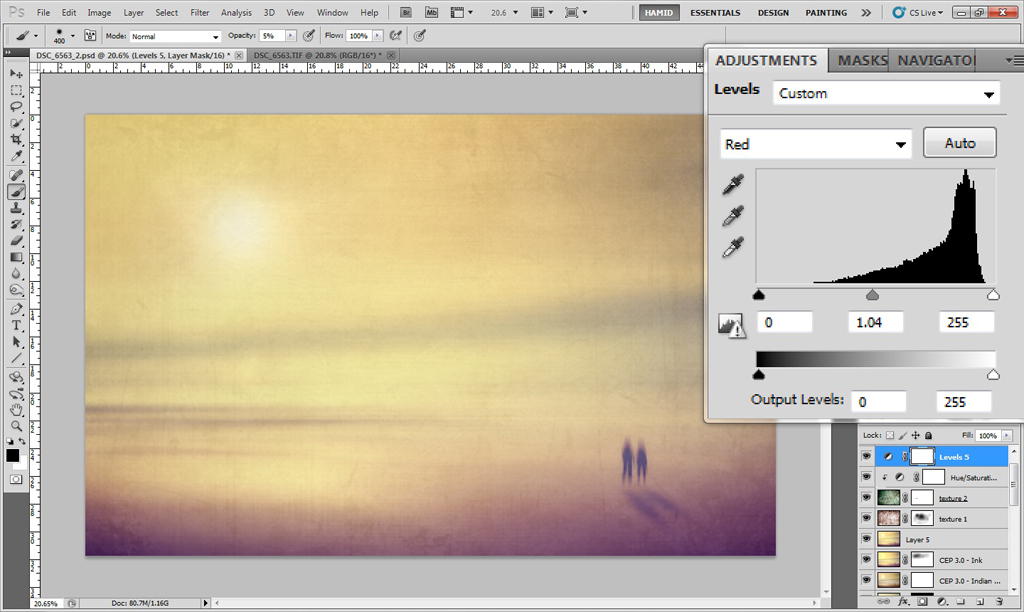
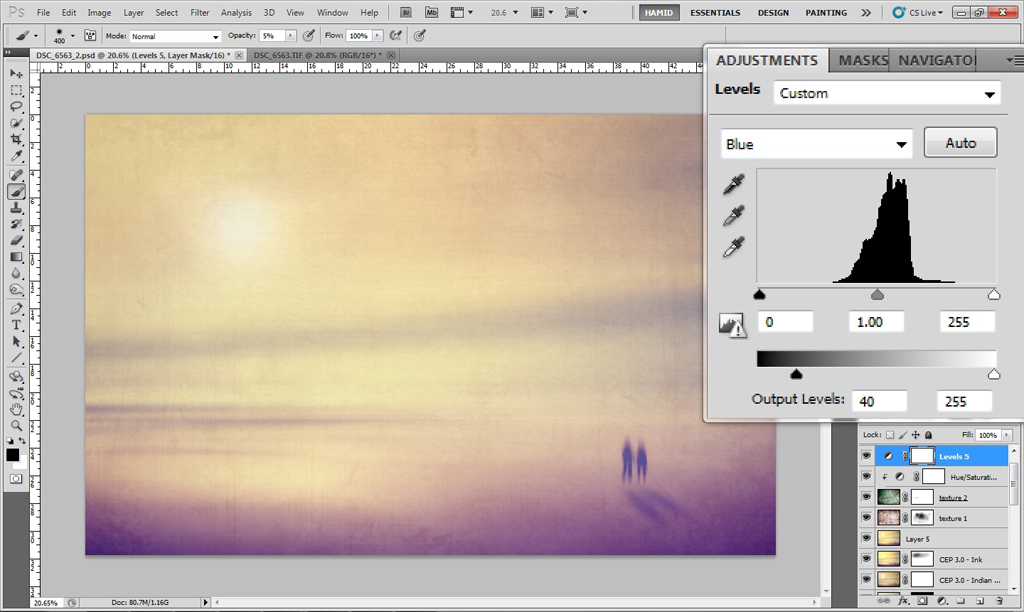
20. In Levels adjustment layer and in RGB, Red and Blue channels, I applied the last changes to make my favorite surreal fine toning!
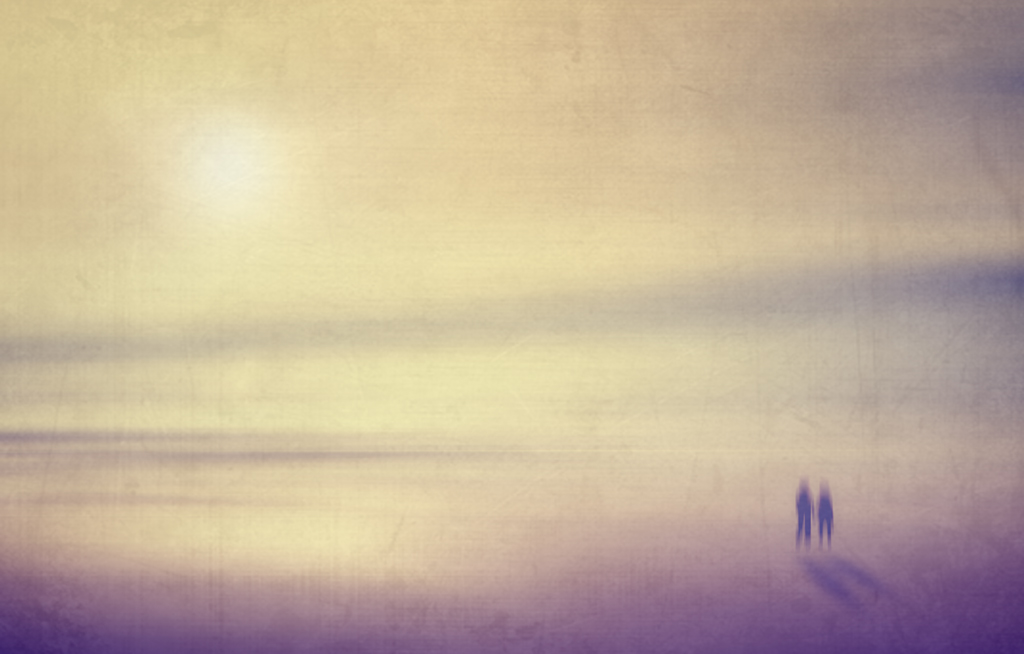
And the final image.